This post describes how to turn your Raspberry Pi into a motion-activated security camera using the free MotioneyeOS software. Other how-to guides and videos exist, but this one is geared more towards the beginner. This is because I’m a beginner, and I found the other “how-to’s” confusing and felt like they skipped a lot of steps. Hope my version helps…
Things you’ll need:
Just FYI, the product links are to my Amazon affiliate account. You could could get better deals on all items from abroad (AliExpress, Banggood, etc.)
- Raspberry Pi – I used a model 3, but you should be able to use whichever one you’ll want, but you will need to change a few steps that I’ll try to call out
- Raspberry Pi Power Supply – heads up, just because you have a micro-USB charger doesn’t mean it will work. Check to make sure it’s 5V and 2.5amps
- Raspberry Pi Camera
- MicroSD Card
- USB MicroSD Card Reader
- Computer to download the software you need to put on the MicroSD
- Monitor and connector with attachments that link the monitor to your Pi’s HDMI input.
- USB mouse and keyboard
Getting the security camera set up
1. Put MicroSD card into the SD card reader and then insert the reader’s USB attachment into your computer. Most readers will only let the card go in the correct orientation…but double check it’s in right way based on your model) and insert it into your computer
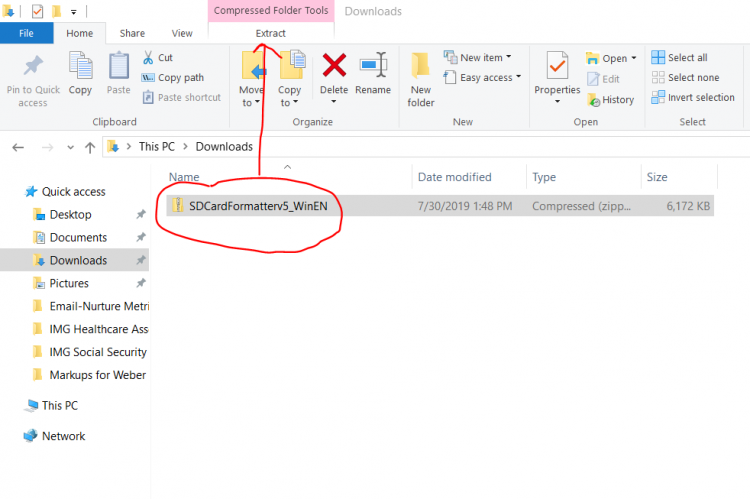
2. Reformat the SD card – Go here, and hit “Accept” at the bottom to start download and extract the resulting download. (This is the Microsoft version of this software, but a Mac version does exist) 
3.
