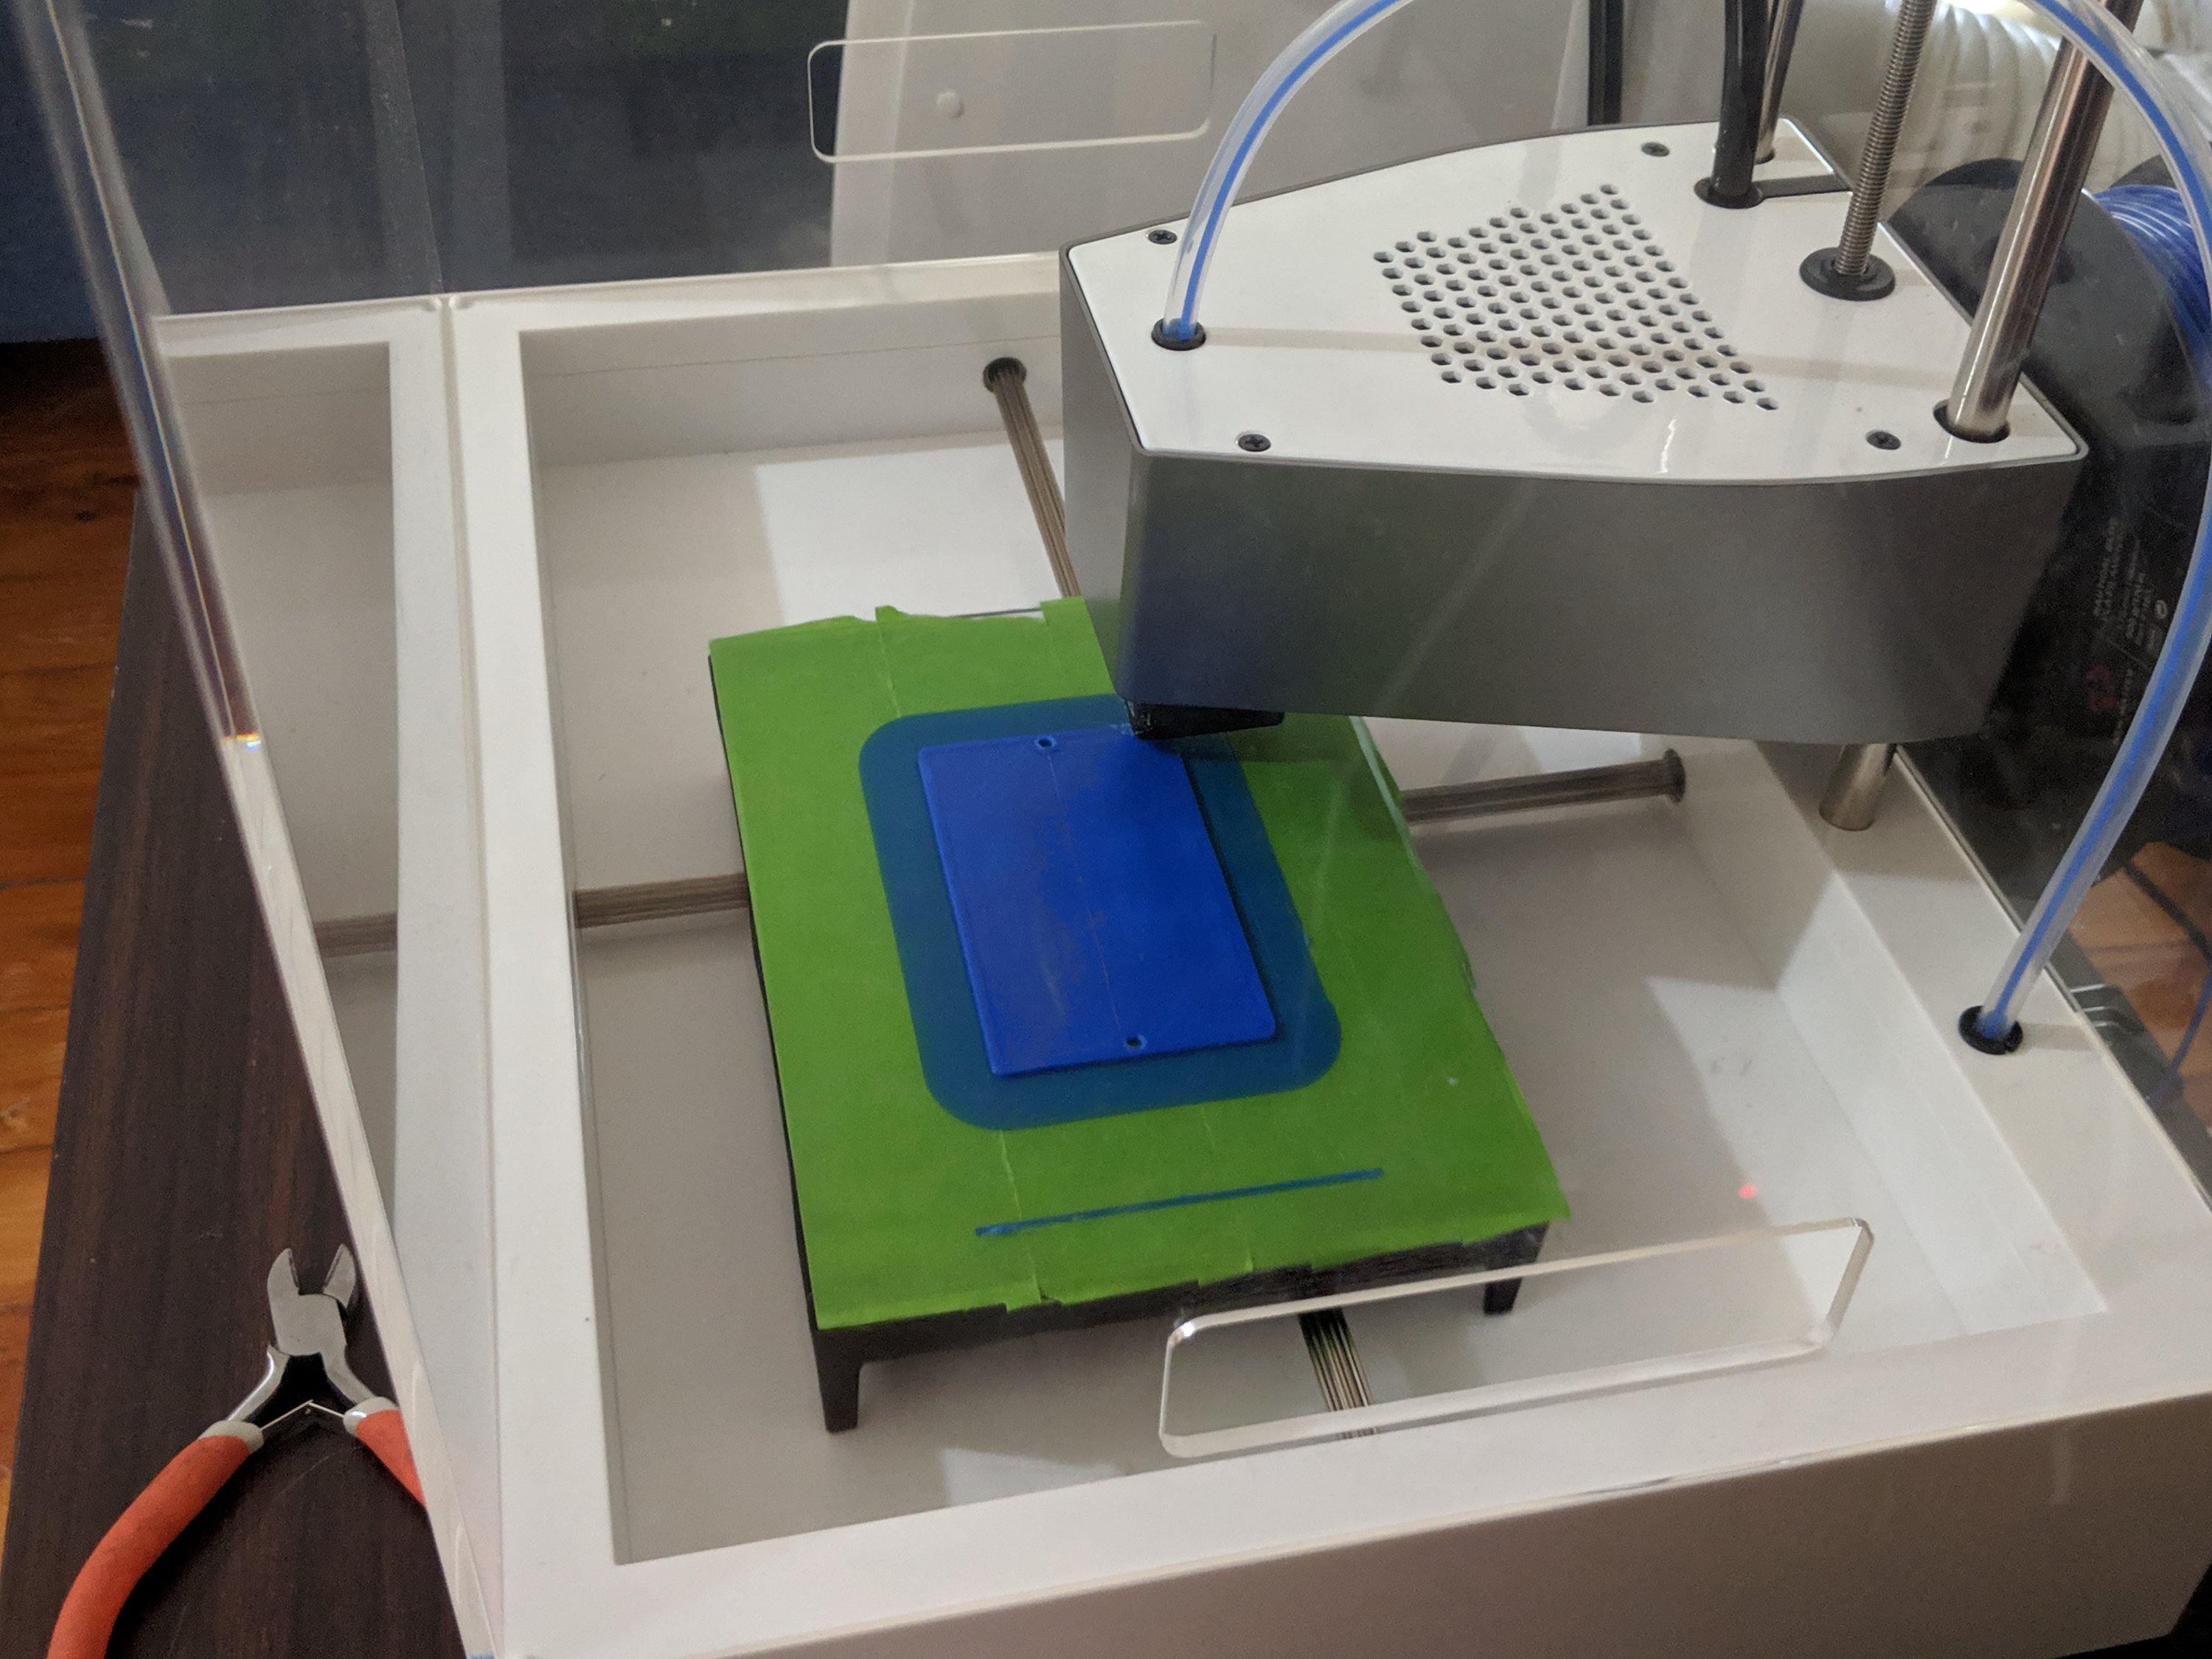
As a novice 3D printer, I’ve been fairly happy with my experience with my NewMatter Mod-T printer, and that’s even in the face of having the company shut down shortly after I received the printer as a gift! However, one of my fears following NewMatter’s closure has been where to purchase replacement parts if/when certain components wear out (A company called Robo3D has since purchased the “rights” to NewMatter, but they have stopped supporting the product (as a matter of fact, I don’t know if they ever did, they’ve only ever offered credit for trading in your Mod-T’s for one of their significantly more expensive printers.)) And one of these components that had a known lifespan were their build plates. Thankfully my wife, who purchased the printer for me as a gift, had the foresight to purchase a number of build plates in advance; but, I was finding they were actually warping prior to them losing their “stickability”. This created serious issues when printing larger items that spanned the length of the plate. The edges would either stick far too tightly to the raft to where I couldn’t separate the part from the raft, or it would peel up from the plate altogether, ruining the entire print.
Here’s what you’ll need to fix your build plate to keep your print from pulling off bed

The solution I found was surprisingly easy. All you need is:
- Pane of glass, at least as large as the original build plate. If the pane of glass is larger than the build plate you’ll also need…
- Safety glasses
- Cut resistant gloves
- Glass cutter
- Marker
- Ruler or Straight Edge
- Measuring tape
- Couple drops of oil (pretty much any food oil will work)
- Painters tape
- Sand paper
- Reusable mounting tape
Here are the steps to make your print bed out of a piece of glass
Now, it’s a matter of cutting your pane of glass glass to size, applying a painter tape layer over the new print surface, and affixing the build plate to the build tray with double sided foam tape
- Measure the dimensions of your build plate and mark them out on the glass with your marker.
- Place the ruler, or other straight edge inside this line, far enough to account for the width of the glass cutter.
- Place a few drops of oil along the cutting path, and then run the glass cutter hard and straight across the line.
- Remove the straight edge, put on your gloves and eye protection, and grab the pane of glass on both sides of the cut and apply pressure with the balls of your hand into the face of the glass that has the cut on it (***Be very careful on this, and all the glass-related steps. Do not run your fingers along any of the edges, wear eye and hand protection, and make the glass snapping motion away from your body and away from over your feet/toes.***)
- Repeat the step on the other dimension of the pane of glass (example if you just did the length, do the width or vice versa)
- Scuff up the now extremely sharp edges of the glass with a sandpaper being certain to press softly enough that you don’t cut through the sandpaper with the glass.
- Apply painters tape in abutting strips across the length of the pane of glass
- Affix the build plate to the build tray with double sided tape, with the taped side facing up towards the print nozzle. This is your new build bed.
These are the steps that I took and had great success. I tried other variations (clean glass surface only, glass with hairspray, etc.) and the painters tape was far and away the best outcome. With a slightly slower and wider first application layer of your 3d print, you get great adhesion to the new print bed, but not so tight that you can’t remove it without having to tear off the tape. One final word of caution, every time you’re handling your new print bed are handling very sharp edges (regardless of how much you sand the edges), and you risk breaking the glass in dangerous fashion if you too overzealously try to remove your new prints. Be patient and slowly and gently apply pressure to the print to remove it, without risking breaking the glass. Plastic razor blades are also a great aid in getting the print off without too much risk of cutting the painters tape.
