
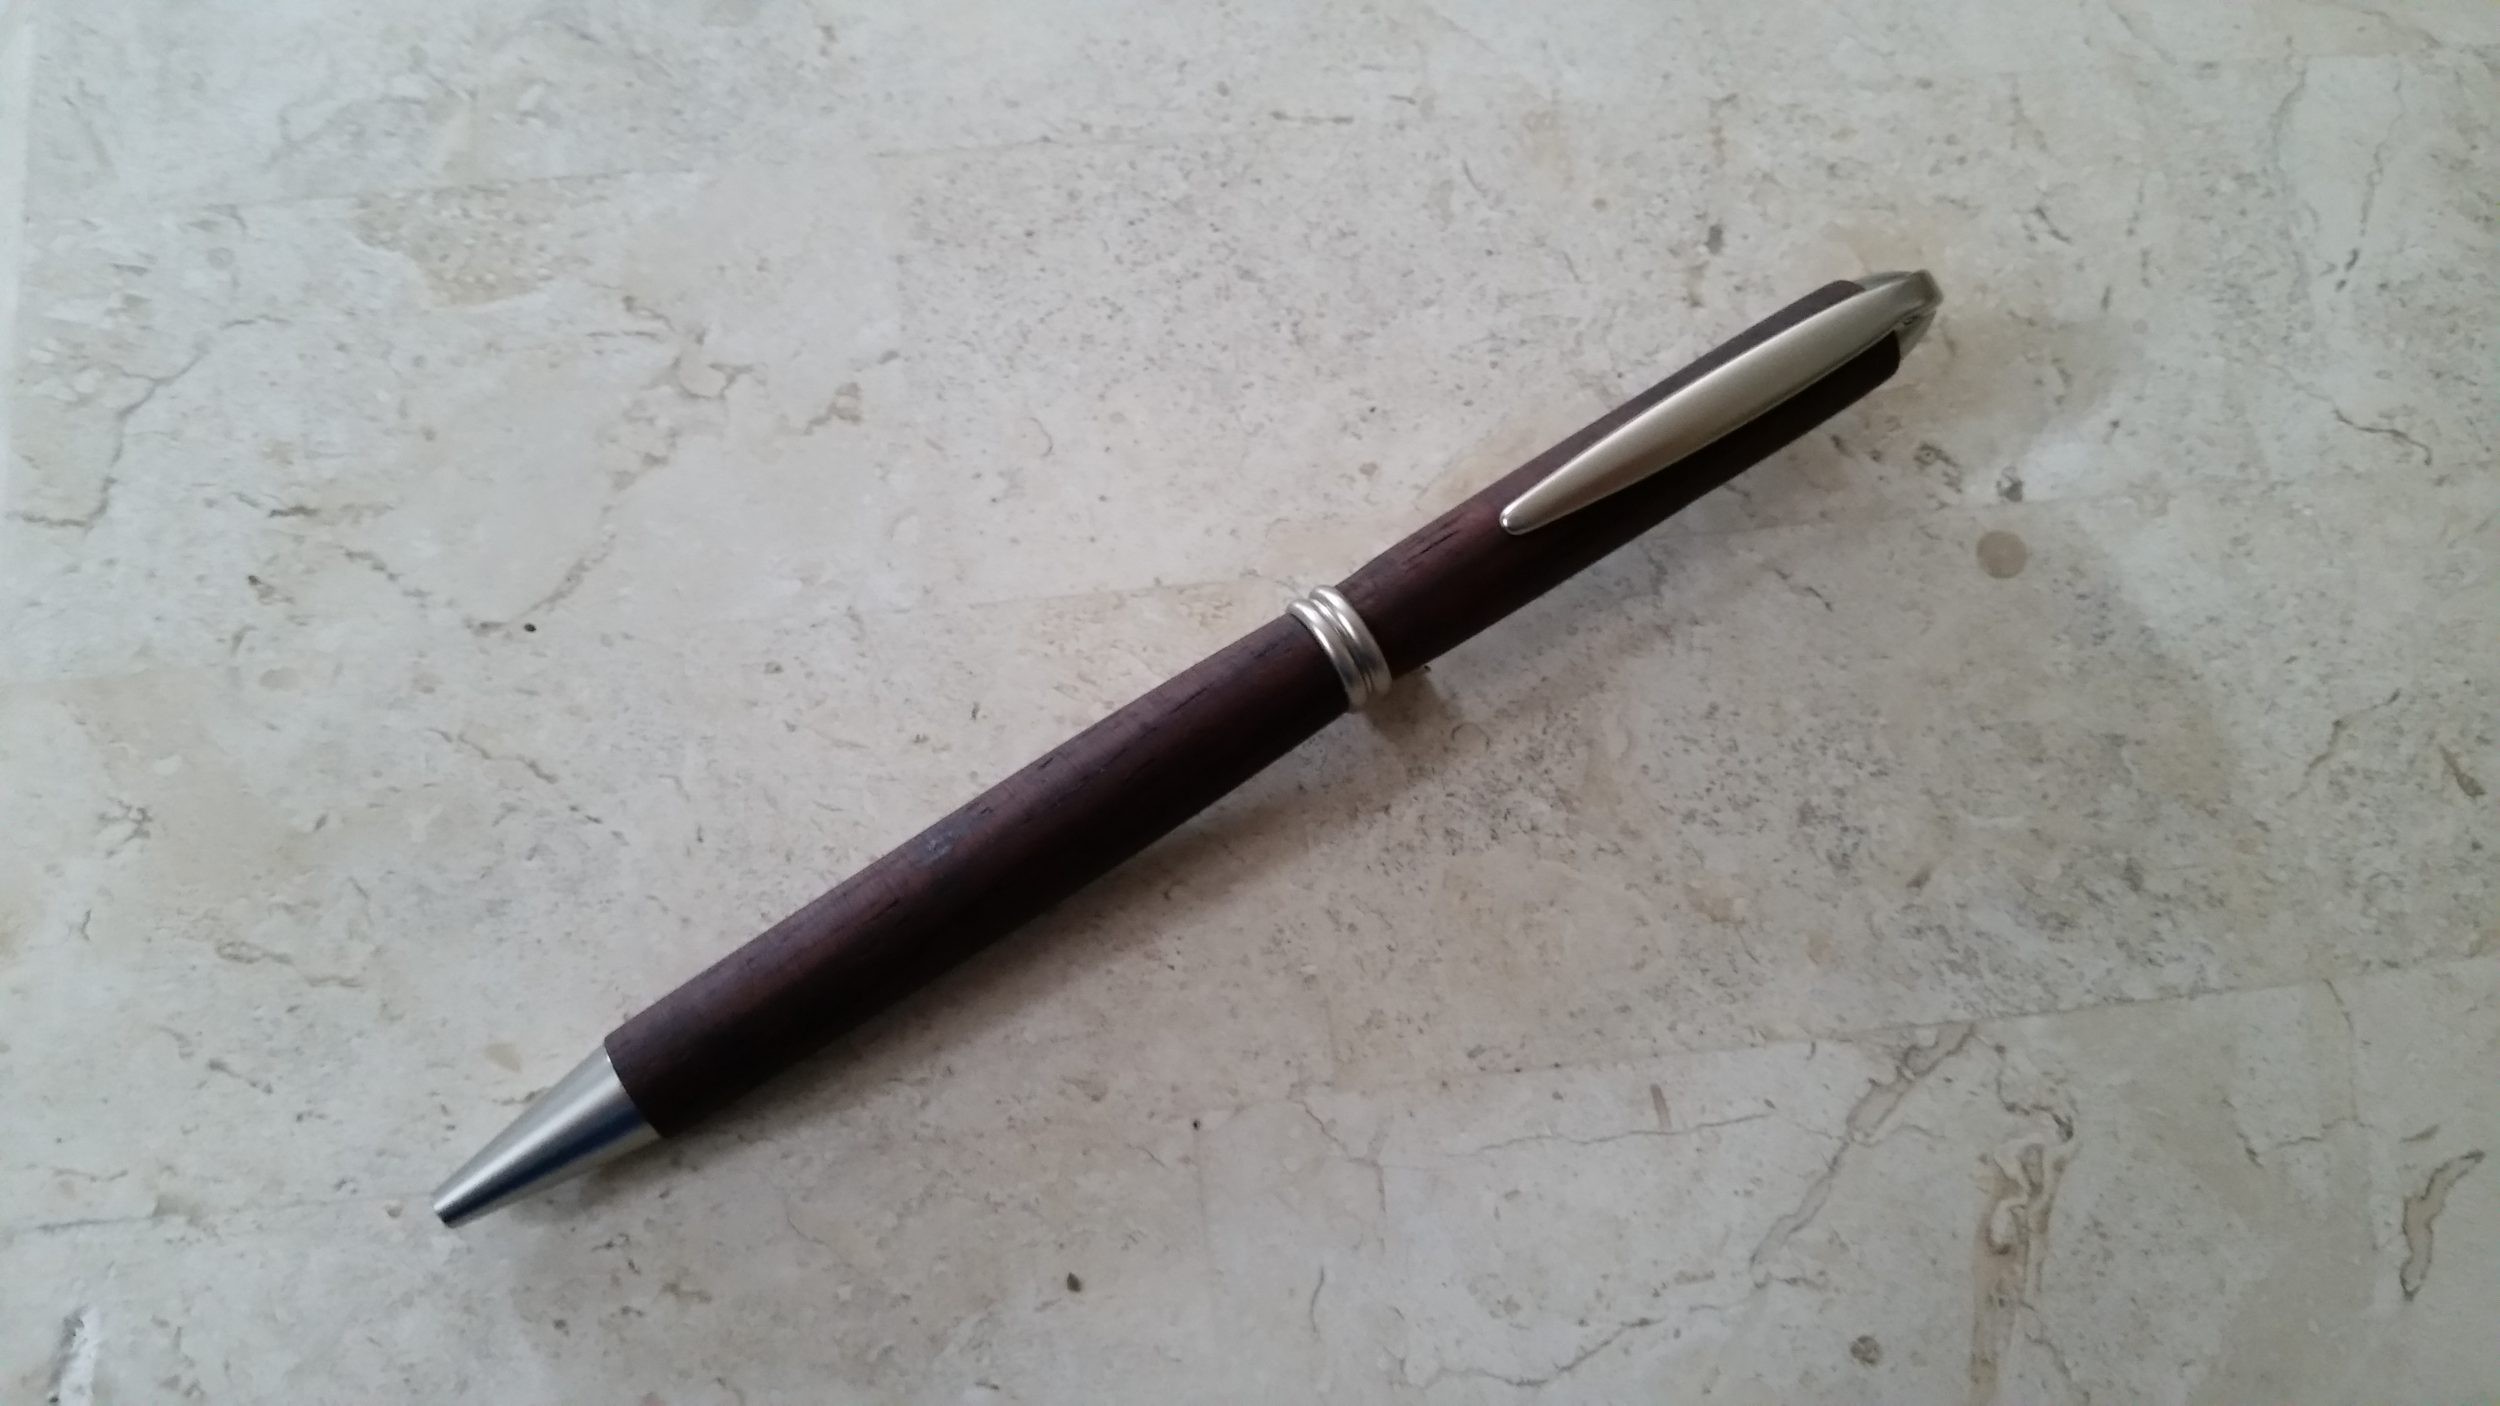
I think I may have found my new hobby, turning pens. I’m surprised how addicting it was — and because I made a few adjustments to the process it wasn’t too terribly expensive to get started. I’ve only made one pen so far, so I don’t have a video of the process, but I look to make a video soon now that I’m more familiar with the process:

Tools/Equipment:
- Drill Press
- Miter saw (or hacksaw for cheaper option)
- Lathe attachment for drill press (because it cost $30 vs. multiple $100s for a true lathe)
- Lathe Chisels
- 7 mm drill bit (I bought one designed for making pens, but from what I can tell it shouldn’t matter)
- 7 mm milling bit (probably could get away without it, and could use sandpaper)
- #1 MT pen mandrel
- Mini wood plane (not necessary, but saved some time on the lathe/drill press)
- Sand Paper (3-4 grit types in ascending fineness, up to 400+)
- Clamp
Materials:
- Pen blank (roughly 1×1″ block of wood that is ~5″ long)
- Pen hardware (usually comes in a kit…it’s the metal components of the pen)
- Brass insert tubes (sometimes, but not always this is included in the kit)
- CA glue (it’s basically superglue)
- Mineral oils and wax to “finish” the pen
- Rag/towel
The process of making a pen was surprisingly easy. I definitely made a few mistakes and have a lot yet to learn, but to make something that at least looks like a pen was easy and fun.
Steps:
- Mark the pen blanks at the length of the brass tubes with a pencil
- Cut the blank in half at these mark, cutting off excess wood at the end. At this point you should have two pieces of pen blank that are the same length as the brass tubes
- Draw diagonal lines across the two corners of the top of the blanks to find the center of the blanks
- Using a drill press drill through the length of the blanks through the center cross you just drew
- Roll CA glue around the drilled hole and push the brass tubes into the drilled hole.
- If the wood is slightly longer than the brass tube, use the pen mill bit (or sandpaper) to bring the wood even to the end of the brass tube
- Put the two pieces of pen blanks on the pen mandrel with bushings at the end and in between the two pen blank pieces. Tighten in place (but not tight enough to bend the mandrel)
- Place the mandrel in drill press or lathe, and put the dimpled end onto the live center (i.e., the pointy thing that spins freely).
- Turn on the drill press or lathe, and use the chisels to shape down the pieces to the same height as the bushings
- Using sand paper of ascending grit polish down the blanks to a smooth finish.
- Use a rag to remove dust
- Apply wax/mineral oils to rag and apply to the pen blank pieces as the drill press or lathe is spinning
- Remove the pen blank pieces, and using a clamp with a towel or rag to avoid metal to metal contact, slowly press the pen point into one of the pen blank pieces
- In the pen blank piece with the point, press the twist mechanism into the same tube but on the other side. Press into the proscribed line on the metal. (You should be pushing the shortest side of the twist mechanism into the tube.) If anything under insert this part. You can always push it further in, but it’s very difficult to pull out without bending the metal
- Add the ending hardware to the other side of the pen
- Place the pen rod (the writing piece) into the twisting mechanism and test to make sure that the full end twists out and fully retracts appropriately. Adjust twist mechanism depth accordingly.
- Place the center bushing over the twist mechanism and then push the two wood/brass tubes together to complete the pen.