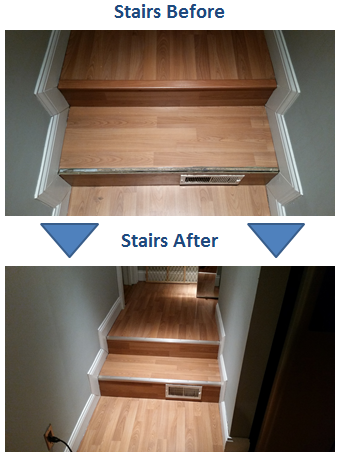
 Instead of writing step-by-step instructions on how to remove/install stair end caps, I believe the video below will do a far better job at explaining this process. Within the video you’ll find text explaining the steps I took to replace one of my one existing stair end cap, and how I installed two new ones. But before you start the video, I know it’s sometimes helpful knowing what tools will be required before you take on a project — and in this project the tools needed are minimal! (I also include this tool list in the video, in case you just want to start the video instead.
Tools Required:
- Hammer
- Hacksaw
- Spiral shank trim nails (should be in the same section of Lowe’s as the trim itself)
- Length of trim that will fit your stair edge(s)
- Chisel or thin prybar (to pull up the existing end caps if necessary)
Tools Possibly Needed: (My top stair, that had the existing end cap on it, provided me with a slightly different set up than the already exposed stair end cap…so I needed a few extra tools
- Wood glue
Miter/Table saw (I needed to cut little scraps of wood to build up the edge of one of the stairs — it’s unlikely you’ll need to do this)
